Did you see our i:Block 1 students (ages 5-7) making their own animation using Scratch Junior.
They made their cars to drive across town.
If you missed it check out here: http://tinkeredu.net/animate-your-car-to-drive-with-scratch/
Today we look at one among other interesting projects of our Stage 2 students (ages 8-10), who use Scratch Basic to animate their dinosaur.
To accomplish this project, they have to follow the step by step process which require problem solving and computational thinking.
♦ First, students identify how their project will start and stop.
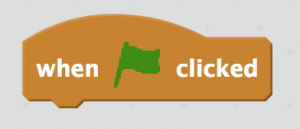
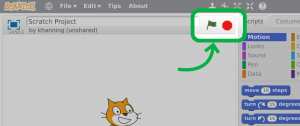
The function of the “Green Flag” is similar to the “Run” button found in text based coding. When the “Green Flag” is clicked, the code runs and sends a signal to start the animation.
The “Stop” button signals for the code to ‘stop running’.
Start Button
Stop Button
♦ Second, the students select the dinosaur from the sprite (character) gallery and add it to the stage area for coding.
♦ Third, students choose additional sprites and a preferred background in which all the characters will interact with the main character, the dinosaur.
♦ Let the coding begin!
Now that the stage is set, our programmers can animate their own dinosaur story. This is the time to enjoy coding using sound, motion and looks block functions.
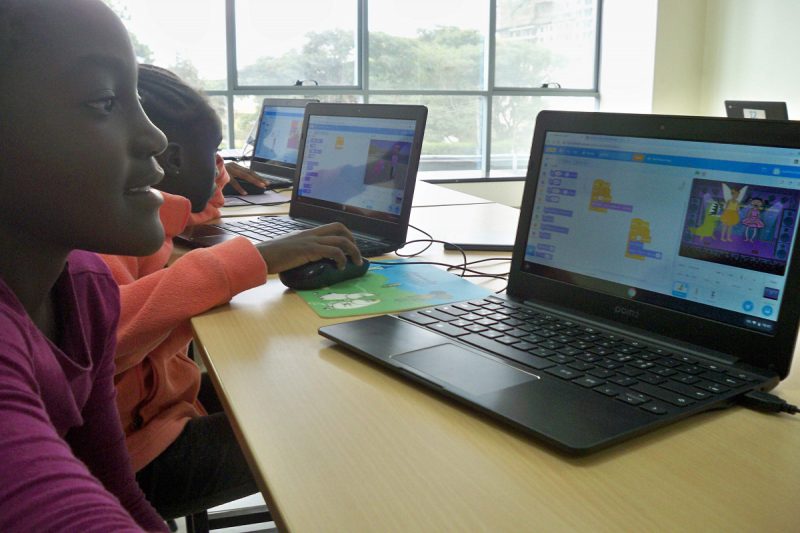
Let’s check out what Justine came up with for her animation project!
Her dinosaur is dancing with it’s friend on the stage as it changes colour with excitement.
(Video)


Leave A Comment